Sync your countdown timer in email and funnels
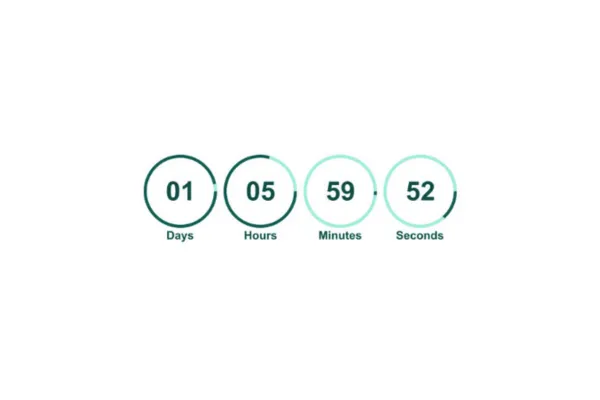
To ensure your countdown timer is authentic and effective, it must be consistent across both your email and the active page where users take action.
Example: Set up a countdown timer for a 10% discount valid until midnight on December 25th.
When would you want to sync them?
Sale Countdown: You’re running a sale with a countdown timer on your website. Your email also has the same countdown timer and links to the sale page. Both timers match, so customers see how much time is left no matter where they click.
Product Release: You’re launching a new product and have a countdown timer on your landing page. Your promotional email also has this timer and links to the same landing page. When the timer runs out, the page automatically takes customers to the product page where they can buy the item.
Event Registration: You’re offering early bird tickets for an event with a countdown timer showing how much time is left. Your event email has the same timer and links to the registration page. When the timer ends, the registration page updates to show regular ticket prices.
Webinar Sign-Up: You’re promoting a webinar with a countdown timer for registration. Your email invitation includes the same timer and links to the registration page. Once the timer expires, the page redirects to a waiting list or additional information.
Steps to Sync Your Countdown Timer in Emails and Funnels
Configure Redirect Links: Set up the active and expired link pages for your timer (e.g., discount page and expired page) in funnels
Create the Timer: Go to "Marketing" > "Countdown Timer" and create a new timer with the configured links.

Add Timer to Email: Create an email campaign, insert the countdown timer element, and select your timer.

Configure Styling: Adjust the timer’s appearance in the settings section.

Add Action Button: Include a button in the email, link it to the active timer page, and use the timer’s link from the settings.

Add Timer to Funnel Page: Insert the same countdown timer element on the active offer page in your funnel.

Align and Style Timer: Position and style the timer on the funnel page to match the email timer.


Sync your countdown timer in email and funnels
To ensure your countdown timer is authentic and effective, it must be consistent across both your email and the active page where users take action.
Example: Set up a countdown timer for a 10% discount valid until midnight on December 25th.
When would you want to sync them?
Sale Countdown: You’re running a sale with a countdown timer on your website. Your email also has the same countdown timer and links to the sale page. Both timers match, so customers see how much time is left no matter where they click.
Product Release: You’re launching a new product and have a countdown timer on your landing page. Your promotional email also has this timer and links to the same landing page. When the timer runs out, the page automatically takes customers to the product page where they can buy the item.
Event Registration: You’re offering early bird tickets for an event with a countdown timer showing how much time is left. Your event email has the same timer and links to the registration page. When the timer ends, the registration page updates to show regular ticket prices.
Webinar Sign-Up: You’re promoting a webinar with a countdown timer for registration. Your email invitation includes the same timer and links to the registration page. Once the timer expires, the page redirects to a waiting list or additional information.
Steps to Sync Your Countdown Timer in Emails and Funnels
Configure Redirect Links: Set up the active and expired link pages for your timer (e.g., discount page and expired page) in funnels
Create the Timer: Go to "Marketing" > "Countdown Timer" and create a new timer with the configured links.

Add Timer to Email: Create an email campaign, insert the countdown timer element, and select your timer.

Configure Styling: Adjust the timer’s appearance in the settings section.

Add Action Button: Include a button in the email, link it to the active timer page, and use the timer’s link from the settings.

Add Timer to Funnel Page: Insert the same countdown timer element on the active offer page in your funnel.

Align and Style Timer: Position and style the timer on the funnel page to match the email timer.
