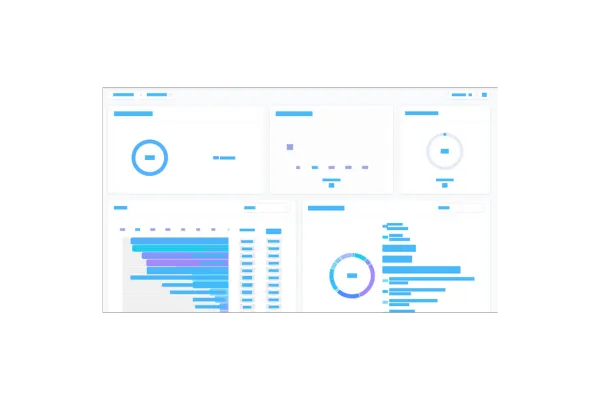
Dashboards: Introducing Email Widgets!
We are excited to announce the release of Email Widgets for your dashboards! These new widgets provide deeper insights into your email performance, allowing you to track key metrics and make data-driven decisions. You can now add a range of predefined email widgets to your dashboards or create custom widgets by applying filters, selecting chart types, and more.
📈 Predefined Widgets to Get You Started:
Accepted Emails: Number of emails successfully accepted.
Delivered Emails: Number of emails delivered to recipients.
Opened Emails: Number of emails opened by recipients.
Clicked Emails: Number of emails where links were clicked.
Replied Emails: Number of emails that received replies.
Soft Bounced Emails: Number of emails with soft bounces.
Hard Bounced Emails: Number of emails with hard bounces.
Failed Emails: Number of failed email deliveries.
Unsubscribed Emails: Number of recipients who unsubscribed.
Unsubscribed Emails Daily: Daily count of unsubscribed emails.
Emails By Domain: Emails grouped by recipient domain.
📈 Customizable Filters and Visualizations:
You can apply new filters such as Source, Status, Sent By, and Domain, and choose from multiple email sources like Workflow, Email Marketing Campaigns, and Bulk Actions. You’ll also get access to useful columns like Contact Name, Email, Status, Source, Created On, and more.
👷 How It Works:
Go to your dashboard.
Click the edit icon and select "Add Widget."
Scroll to the "Emails" section.
Choose from the predefined widgets or create your own by applying filters and selecting chart types.
Click "Save" to add the widget to your dashboard.
⭐ Why it Matters:
Instant Email Performance Overview: Get a quick preview of your email campaigns, tracking key metrics like opens, clicks, and bounces without diving into complex reports.
Actionable Insights: The interactive widgets allow you to click on charts and access detailed email data, helping you take immediate actions like optimizing content or adjusting your audience.
Track Engagement Across Sources: Easily see how different sources (like workflows, campaigns, or bulk emails) perform, giving you a clear understanding of what drives success.
Downloadable Data: Export your email performance data as a CSV file directly from the dashboard, making it easier to share insights with your team or use in other tools.
📌 Important Note:
To use the Group by/View by feature, make sure to select a specific source first, and then choose that source in the Group by/View by options.